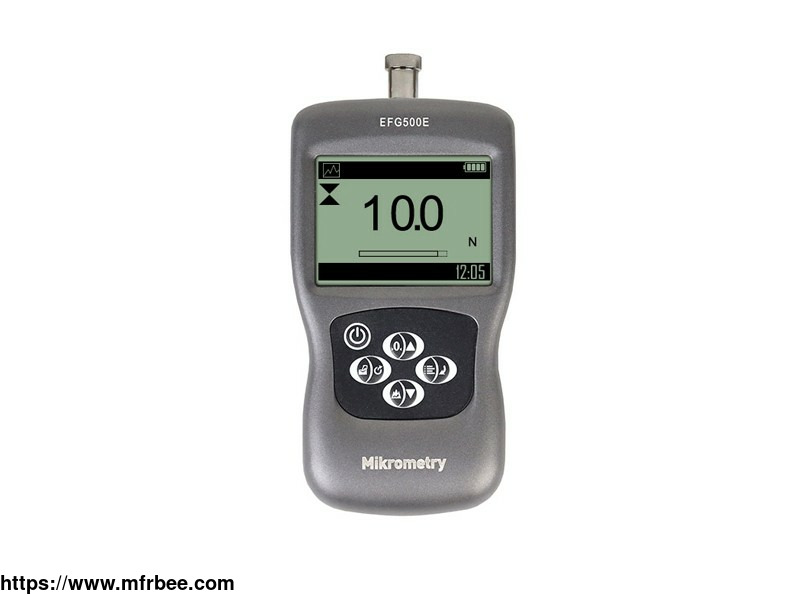
Digital Push Pull Force Gauge EFGE
Specifications
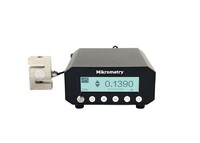
With compact size, and high accuracy, the digital push pull meter is easy to operate and handy to carry out. The digital pull force gauge , also called the digital push-pull force meter, can be
widely applied in electron, high & low voltage electrical appliances, hardware, automobile parts, lighter and ignition system, light industry, mechanical, textile, and other industries for testing
of pull or push load test, insertion force or pull and destructive experience.
EFGE digital push-pull force meters are high-precision push-pull force test instruments. The electronic push pull force gauge adopts an aluminum alloy shell, and the whole machine is light in
weight. These spring testing machines are especially suitable for hand-held measurement. It has built-in high-precision sensors and mechanical overload.
The internal sampling frequency of this digital force gauge meter is 1000HZ, the software has tracking, peak, and preset modes, which can be applied to the brake test of the product. Compared with
the compression force gauge, the insertion force test and other force tests, up to 500 measurement data storage.
Digital Push Pull Force Gauge EFGE Features
Durable metal case
Reverse display setting
Mechanical overload protection
Calibration certificate Included
Charger with US/EUR/UK Plugs selectable
With the USB or RS232 communication interface, this digital push-pull gauge can easily communicate with PLC
Accuracy: ± 0.3% FS
Sampling Rate: 1KHz
Digital Push Pull Force Meter EFGE Specifications
How to Use Push-Pull gauge?
Choose model
This push force meter, pull force meter series has a variety of models can be selected. Different models corresponde to different range and resolution. Select the appropriate model based on
practical needs before use. DO NOT exceed the capacity of the gauge, or it may damage the force gauge forever.
Choose measuring heads
In order to complete the test work conveniently, this pull force meter is equipped with a variety of measuring heads(adapters). Select the appropriate measuring heads according to the actual need.
Power on/off
Touch the power switch for 2 seconds to power it on or off.
After switching the instrument on, you should check the model and the battery Icon. If the power is low, the push-pull meter should be recharged.
Testing
After completion of the test preparation, testing can be done.
- Measuring heads
Select the appropriate measuring head, install it on the gauge's measurement axis. Tighten it by hand, without the use of tools. Do not use a deformed or damaged measuring head.
NOTE: Do not use tools to vigorously tighten the measuring head, otherwise it will damage the force gauge.
- Units
The digital push-pull force gauge has a variety of measurement units, select the appropriate unit of force. Under the measured interface, press the Menu key to enter the menu interface.
- Test Mode
This push-pull force gauge series has 3 kinds of measurement test modes can choose from. You can select a Measure Mode by touching the measuring interface, or changing it in the menus.
Track: The real-time measuring mode, under this mode, press the zero key the force gauge will be cleared (remove tare).
Peak: Peak readings will not change until a higher value is measured. Under this mode, touch the zero key the force gauge will update the display immediately.
Auto-Peak: In this mode, the digital push-pull gauge displays a peak value of force in a fixed duration. The duration time can be set in menus.
- Tolerance Limit
The tolerance limits can be set for GO/NG measurement also. See for detail. If you set the alarm on and a valid limit, The icon will be displayed for within limit, lower than lower limit, or
exceeding the upper limit.
- Zeroing
Touch the zero key to clear the pull force meter in track mode for removing the tare.
Hand-held or Mounting
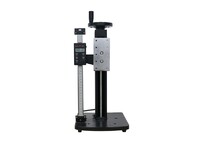
The digital push-pull gauge is a portable Instrument. You can do the testing hand-held, or you also can install the force gauge on the test stand so as to obtain accurate measurement results. There
are 6 M4.0 mounting screw holes on the back, which can be fixed on the test stand.
NOTE: The depth of the mounting hole is 8.0mm, please choose the appropriate screws, screw into the depth of the force gauge shall not be greater than 7mm.
Storage
Measured results can be stored in the digital push pull gauge so that you can review or print them later. Under the measured interface, touch to save value measured, and the save icon will be
displayed.
Browse and Printing
The values saved in memory can be reviewed in the Browse function. The data in memory can be printed into a report.
Push-Pull Gauge Calibration Procedure
Because of the sensor material performance or the influence of external factors, there may be errors in a certain range after a period of time use. As one of the leading testing and measuring
instruments companies in China, Mikrometry suggests you should send the digital push-pull gauge to a specialized testing organization for calibration.
Whereas, if you have some standard force weights or the other standard load and some test stand, you may calibrate the push meter also.
Mount the push-pull meter.
Remove the tare by use of the zero key.
Enter the Calibration interface, Show the following.
Load a standard force. Now the value in the standard input area is just equal to the current measured value. Wait a moment for the force stability.
Touch the zero key and peak key to input the standard force value.
Touch to enter the next calibration. Touch can interrupt the calibration. When the 5 times calibration had been finished or interrupted, a confirm window will pop up to ask for save or not save the
calibration.
Touch the zero key or peak key to select, then press the menu key.
If "YES" is selected, "Calibrate complete!" is displayed.
NOTE:
① Set the unit of the force to the unit used in calibration previously.
② Ensure that the tare weight of the attachment has been removed before calibration.
③ You can do any point or points calibration from 1 to 5 point. We recommend 5 points calibration.
- Country: China (Mainland)
- Founded Year: Shenzhen
- Address: 6th Floor 11# building 3th Section of Yangbei Industrial Park Huangtian Hangcheng Bao'an District, Shenzhen, China
- Contact: mikro metry
